Keep Customers Coming Back with Newsletters
Stay in front of your past customers and turn one-time bookings into repeat ones. Newsletters lets you send a branded email featuring your upcoming listings to everyone who's subscribed — on your own schedule, as often as you want — so you fill more seats without paying for a separate tool like Mailchimp or Constant Contact.
In this article:
- Turn on your newsletter
- How customers subscribe
- Choose which listings to feature
- Choose when and how often it sends
- Preview before it sends
- See your results
- Unsubscribe a customer
- Common questions
Turn on your newsletter
Your newsletter is off by default. Turning it on takes one toggle — no need to email us.
- Go to Campaigns and open the Newsletter card.
- Click Settings in the top-right corner.
- Switch Monthly Newsletters on.
That's it. Turning the newsletter on also unhides the opt-in checkbox at checkout, so customers can start subscribing right away. Turning it off stops future sends and hides that checkbox again.
How customers subscribe
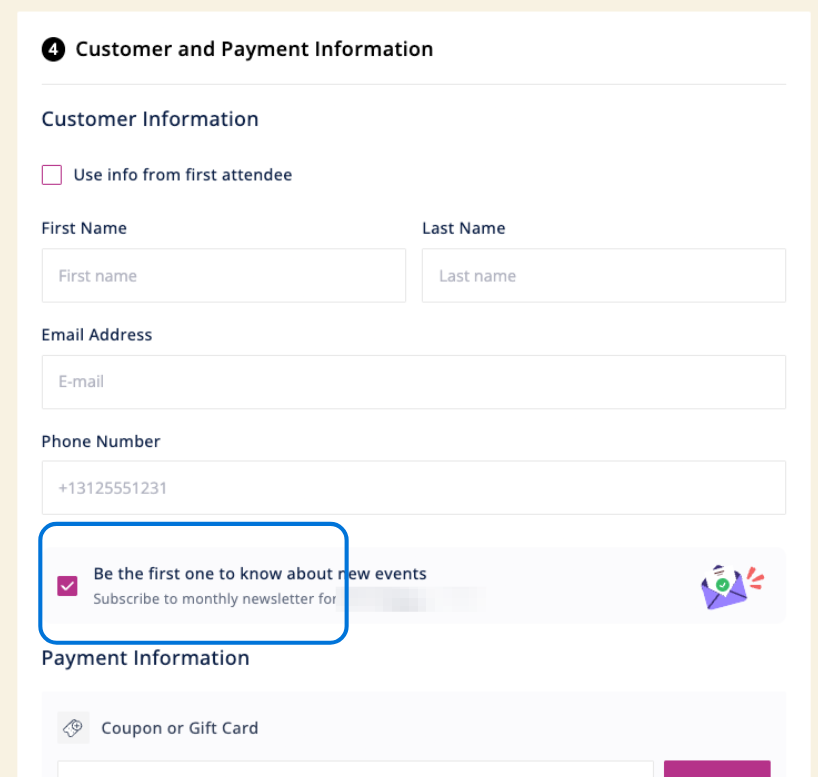
Once your newsletter is on, customers can opt in while booking. An opt-in checkbox appears in the customer information section of every checkout page — anyone who checks it joins your list.
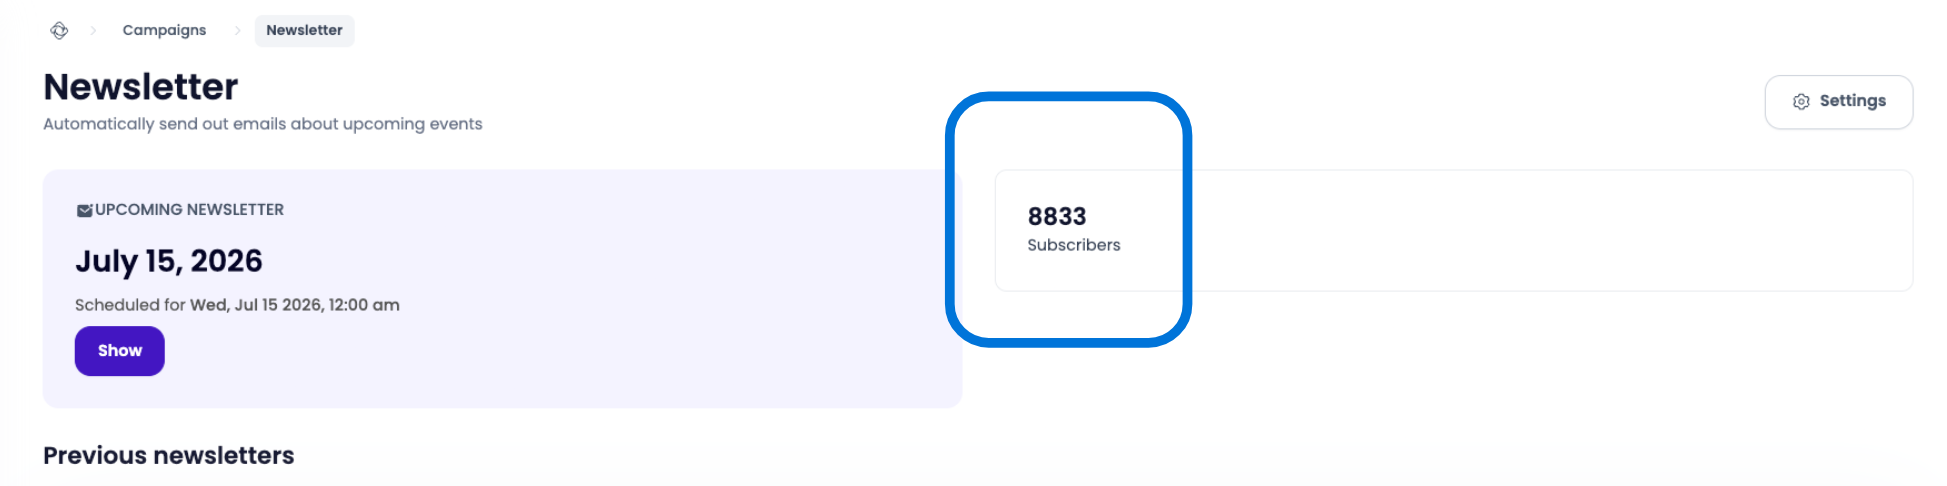
You'll see your live subscriber count on the main Newsletter page.
Choose which listings to feature
Your newsletter starts with your upcoming listings already loaded in, and you can fine-tune exactly which ones appear before it goes out.
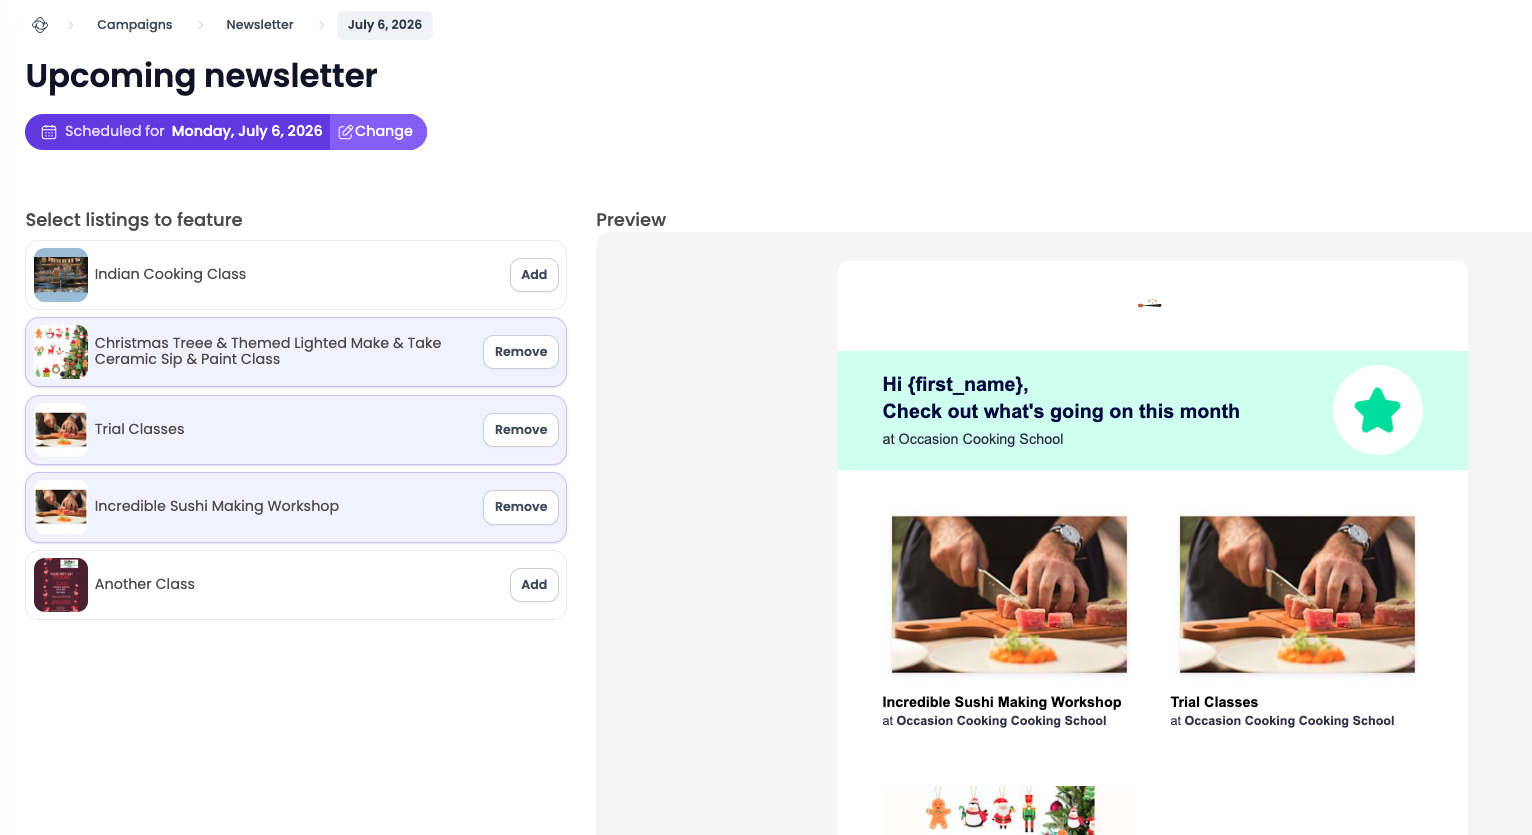
- On the Newsletter page, open your upcoming newsletter by clicking Show.
- Under Select listings to feature, click Add to include a listing or Remove to drop one.
- Watch the Preview on the right update as you go.
Choose when and how often it sends
You're in control of timing — there's no fixed schedule and nothing sends on its own. Send weekly, monthly, around a busy season, or whenever you've got something worth promoting. The send date sits at the top of your upcoming newsletter; click Change to set or move it.
Preview before it sends
The Preview panel shows your newsletter exactly as customers will see it — your logo, a personalized greeting, your featured listings, and a See All Events button that sends readers to your full calendar. Review it before your send date to make sure everything looks right.
See your results
Every newsletter you send is saved under Previous newsletters, with a status so you can tell at a glance what went out and what didn't.
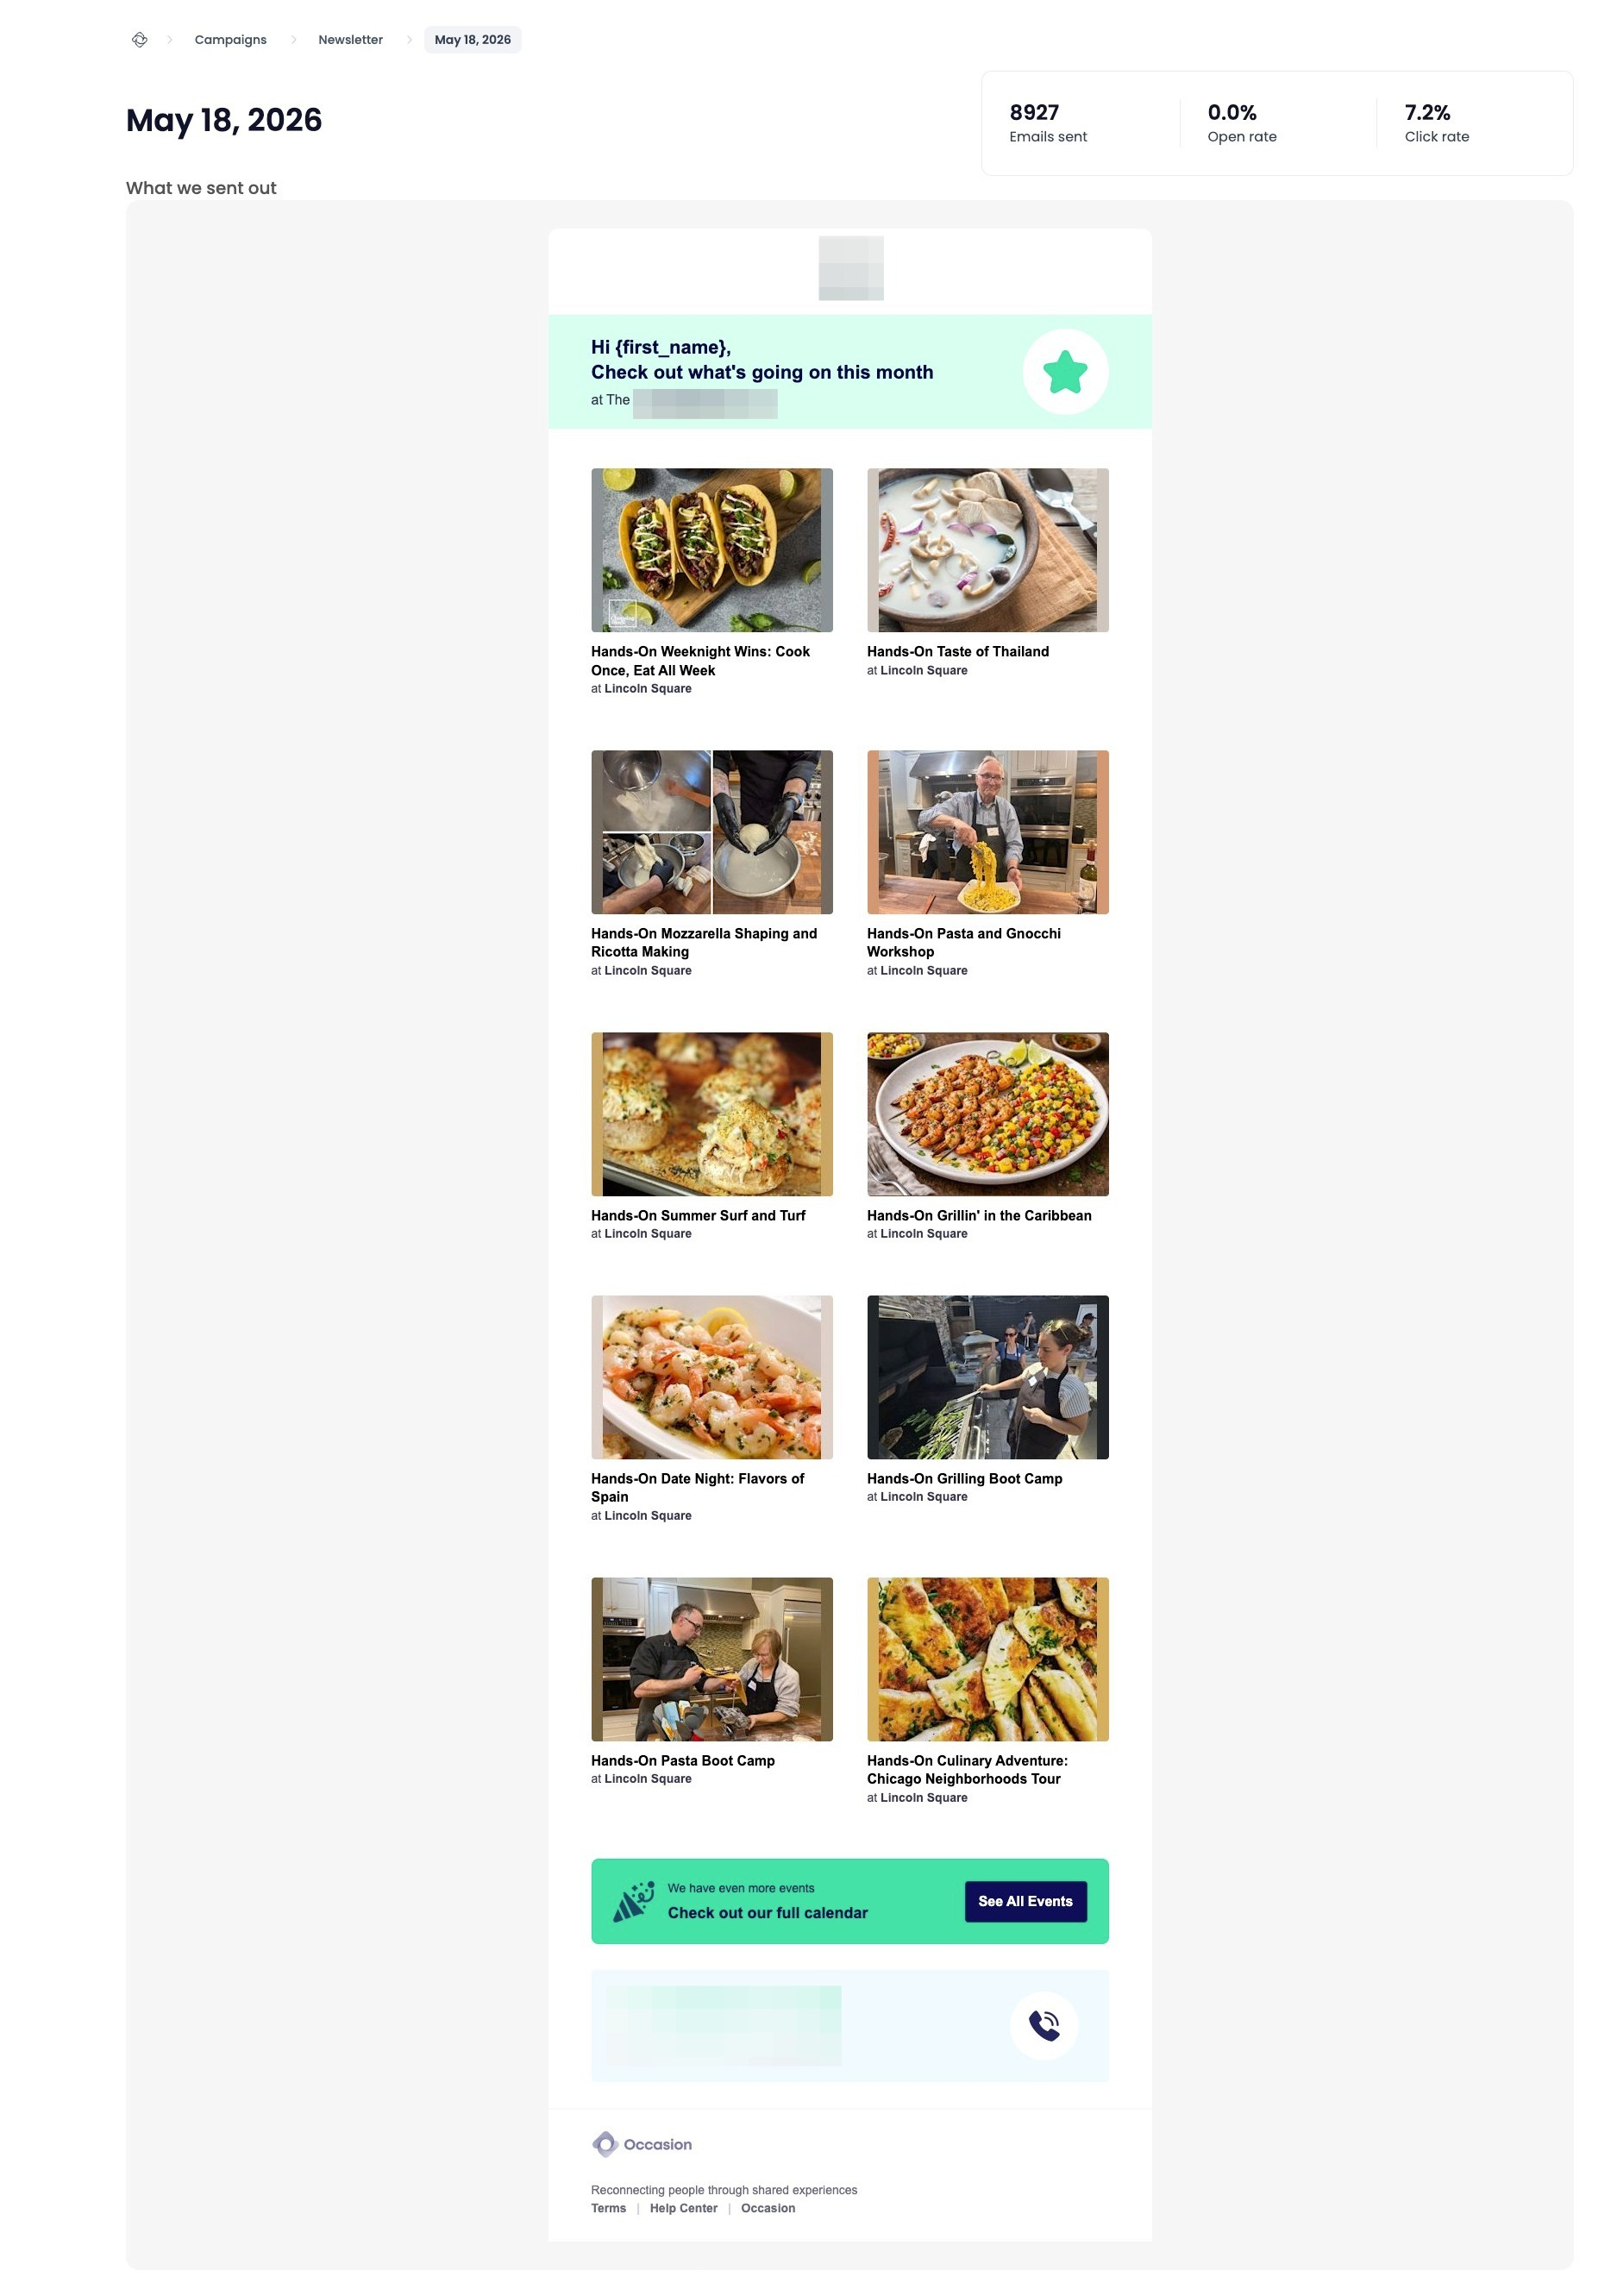
Click any past newsletter to see what you sent and how it performed:
- Emails sent
- Open rate
- Click rate
Unsubscribe a customer
There are two ways a customer can come off your list:
From your Workspace — Go to Reports > Customers, open the customer with Show Customer, and click the Subscribe button in the top-left panel to unsubscribe them from future newsletters.
On their own — Customers can click the unsubscribe link in the footer of any newsletter. They won't receive future sends unless they re-subscribe by booking again.
Common questions
Which listings are eligible to feature? A listing can appear in your newsletter if it's still open for registration (not sold out or closed), its date is at least two days after the send date, and it has an image. Listings without images won't be included.
How often does the newsletter send? That's entirely up to you. You choose when each newsletter goes out and how often — there's no fixed cadence and nothing sends on its own.
Can I send to only part of my list? Not at the moment. Each newsletter goes to everyone who's subscribed — there's no way to segment or target a specific group of customers yet.
Where does the "See All Events" button take customers? To your full calendar. You can build and style this calendar under Settings > Website Calendars, then use it as your newsletter's click-through destination. You can also send the customers to a link on your website under Newsletter > Settings